Showing posts with label wood. Show all posts

Thursday, July 3, 2014

Theater: Woodworking

Saddleback College customizes many of the stage pieces in Hello, Dolly! in their woodshop back stage. Below are three prop wooden crates used in the show. 


I pulled the bottom pre-painted crate from the prop cage as a reference- we wanted a simple, worn style as part of a feed store set. I then constructed the upper two crates to carry a certain number of soup cans and candles, which the script required. The crates were a matter of measuring the boxed items and using the table saw with a staple gun to do the rest.


I used the same techniques to construct flies that would support the background. Here I learned how describe dimension of wood and follow blueprints from my instructor to cut the correct measurement with the chopsaw.


A fuller view of the backstage shop. In the right there are green pieces I used the router on.


Sunday, June 1, 2014

Spatial Dynamics: Egg Tool

This wooden game course is my interpretation of the Egg Tool project from Spatial Dynamics. The prompt was to create something that would:
1) pick up an egg,
2) crush the egg (preferably separating it from the shell)
3) and beat the egg.


I decided to add in a step 0) play with the egg. 

Pulling in elements from pool, croquet, and mini golf, I made a game board that the user could tilt and roll an egg around inside. Users were challenged to roll the egg through gates and up a ramp while avoiding corner holes.


The removable center triangle piece housed the rest of the steps. The bottom of the flag crushed the eggs through the holed bottom and the scooped flag made out of chiseled cherry would act as a spoon to beat the egg. The piece was finely sanded and waxed to protect the wood from egg fluids. I am particularly proud of my triangle, which references a billiard triangle and which I mitered my hand.


The egg tool game board came after a long process of brainstorming sketches.


What inspired me the most in the end was simple form explorations, which allowed me to consider other ways of moving the egg through a tool. 


The most significant thing I learned from this is not limit my ideas to the most "efficient" solution possible. While I do admire simple functionality dictating an elegant form, this was the first project I allowed myself to incorporate fun interactivity.

Thursday, May 1, 2014

Spatial Dynamics: Nature Object Series

A lengthy compilation of a semester's worth of work in Spatial Dynamics--featuring: Corn!
At the beginning of the semester, we were all required to choose natural objects to study and explore. I chose a small Indian corn because I was drawn to its three distinct textures of the kernels, the cob, and leaf shell.

We began our journey with some research, brainstorming, and orthographic drawings.


These orthographic drawings then had to translate into clay. Here I am trying to figure out how to use the clay tools and wet/dryness of the clay to make both rounded and flaky forms. I used a subtractive method once I had my two base forms of a basic cylinder attached to a prism.


End result and hand for scale!


The next step was to create a piece by using cross sections of our object. I measured out aluminum sheets that I cut, grinded, drilled and sand blasted and positioned them on a wooden dowel standing upright. I did this to suggest the corn's original orientation growing in a corn stalk. It was a pleasant surprise to find my piece now embodied the whimsical quality of a cloud staircase.


Step three utilized skewers. We were assigned to create a structure inspired by/reflecting our object. I played around with string knots and tubing as fasteners to find a module shape, then branched from there. I was most satisfied with this hexagonal module, which I felt was sturdy enough and also round enough.


After fiddling around with staircasing connections, I came up with this abstracted corn cob.


My piece was rather large, so here's a video to better capture the structure.


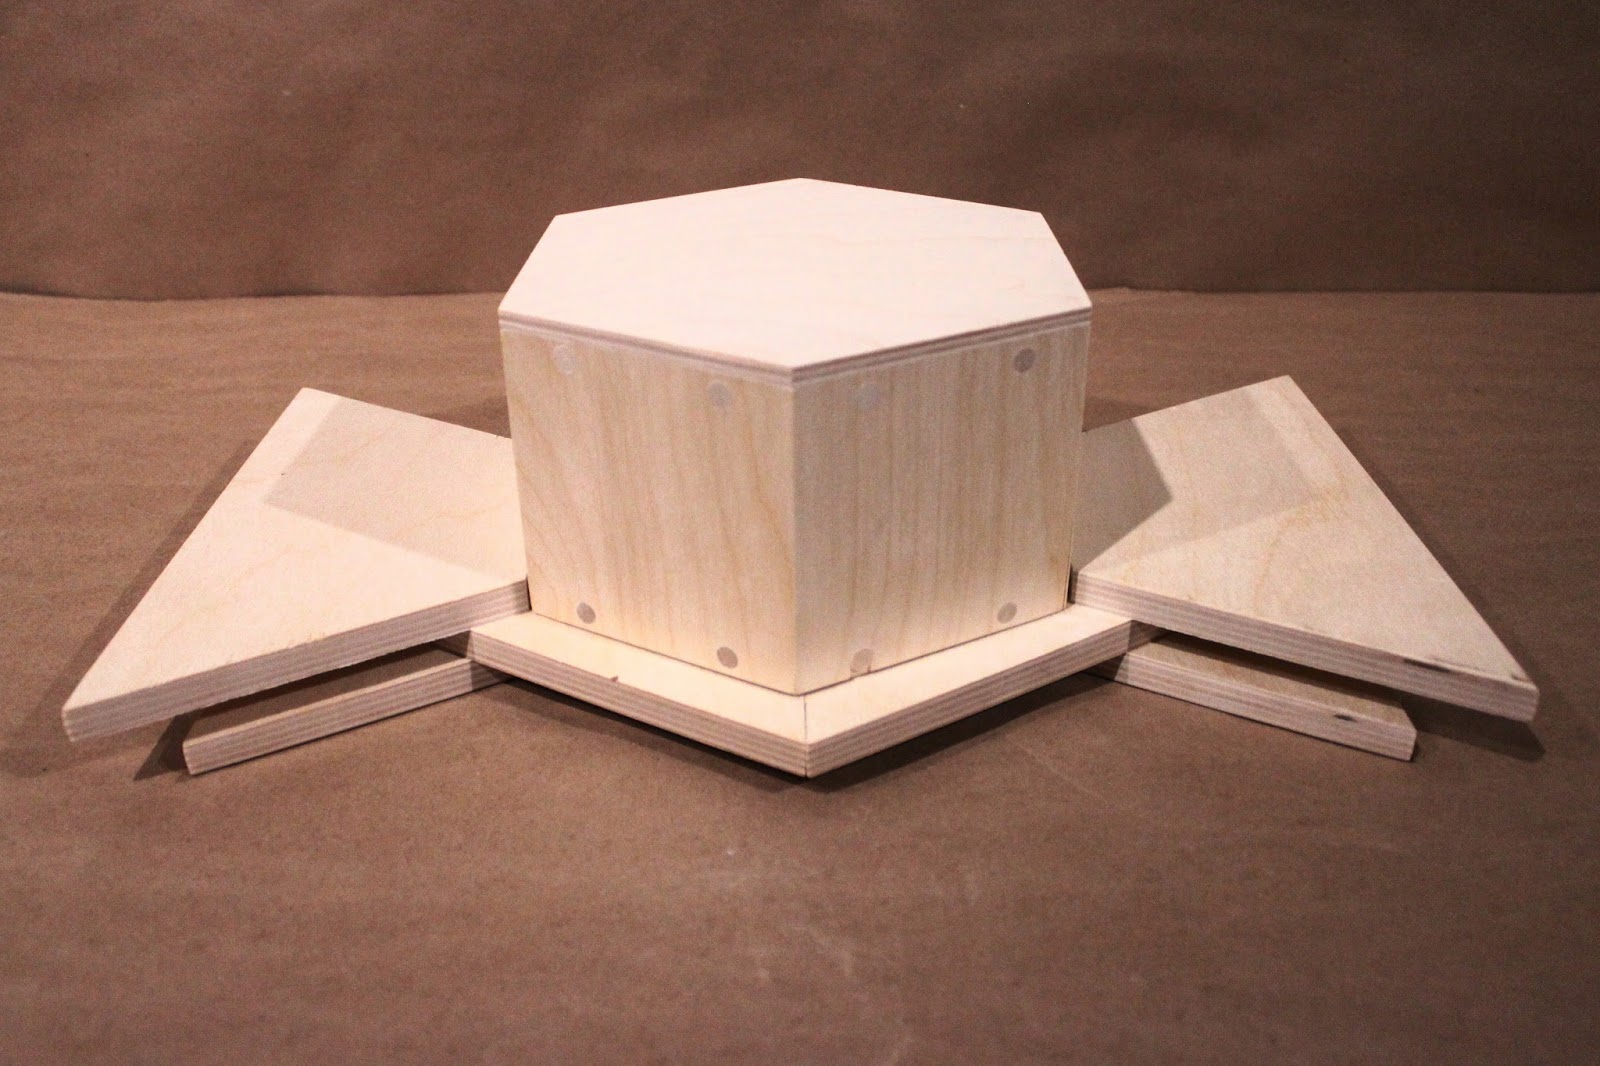
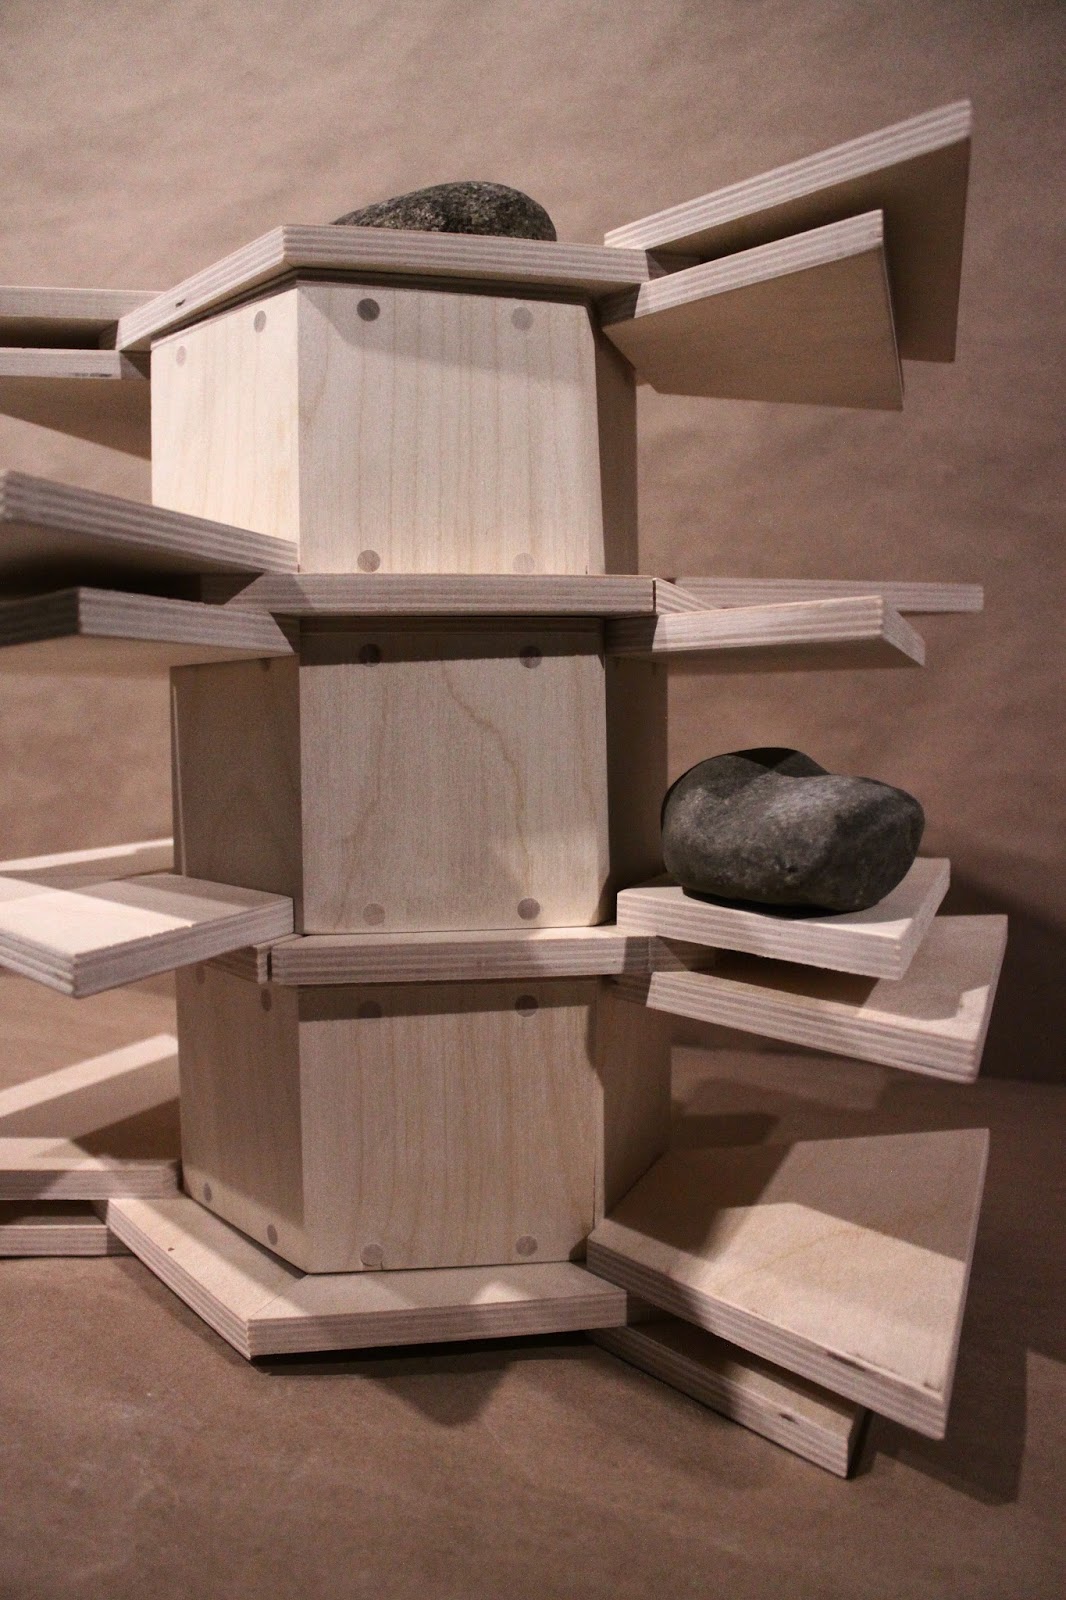
The final exploration was much broader. We were asked to give our object "life" again by capturing something about its growing process and its connotations. Throughout the process, I gradually came to appreciate (and respect to a point) the systematic growth of corn, which became my focus of the last project. I compared the cob to a modular shelving unit, which I designed to be customizable so it could grow several directions. I continued the hexagonal structure.


My completed set. With the time I had, I was able to make three shelves in total, which is the abridged version of the story I wanted to tell. The wood is baltic birch plywood, sanded to be smooth to the touch. There are circular details made of dowels in drilled holes on the faces of the hexagon.


A possible base for stacking.


When stacked, the trapezoids form shelves, whose length depends on which side is flipped up or down.

The most important lesson I learned while making this was the value of jigs to make uniform and consistent parts. I also learned about using a table saw to make mitered cuts for my hexagon core.

Spatial Dynamics: Mapping Myself through Time and Space

My final for my spring semester Spatial Dynamics was a series of wooden keys that transformed back into tree branches using found material. Part of the process that I really enjoyed was finding  branches for individual increments from processed key form into a raw branch again.

Keys have strong connotations of secrecy and security- to me, they are, at the very base, are a symbol of access. For this assignment (a map of myself through time and space), I chose specifically to link these keys to access of memories. Countless events in my past are inherent to the person I am today. My family dynamic, friendships, early hobbies, etc. have led me to where I am now, but in spite of their importance, I can not remember these times clearly anymore as part of the natural process of growing up. My past is integral to my growth. I wanted to demonstrate and compare this phenomenon with wooden keys growing until they lose their shape, and therefore their function. By the end, the keys can no longer "access" that memory, but its previous key form led its growth structure. 

I first explored what elements I wanted in my keys and how to shape them using the scroll saw/sander and drill press. Below are my experiments with sticks, finishes, hanging fixtures,and types of wood, I ended up liking the middle key the best, due to its more deliberate structure.


Below are the four keys that I felt best explained the transition, utilizing the key head, shaft, and teeth to imply the shift in material,


Close ups of the keys at the end of the transition,


More photos of each individual key can be found here on my Flickr.


Saturday, December 14, 2013

Spatial Dynamics: Urn

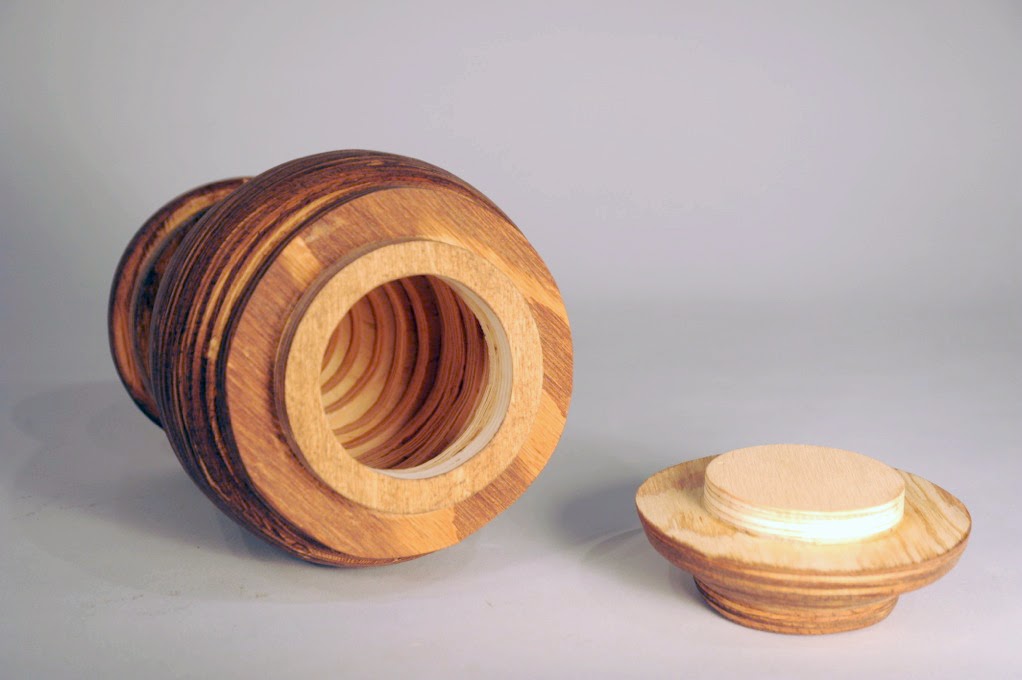
As part of my Spatial Dynamics final, which followed the theme of "containers", I made a wooden urn. This week I had to create something wooden that can only be completed by the body (for example, a chair only truly becomes a chair once someone sits on it), so I felt a cremation urn was an appropriate response. 


Instead of carving the urn out of one piece of wood, I stacked and glued several circles of plywood on top of each other due to the limited woodshop resources available to first year students. I first calculated the number and diameters of each layer to get the wide, smooth shape of a cremation urn body/lid, then used the bandsaw (for the outside) and the scroll saw (for the interior negative space). After that, I sanded the outer edge at varying angles with the belt sanders to get the overall gradual outside curve. From then on was sanding the whole thing down by hand to get a soft, smooth texture. 


The layers are visible here, where I was unable to sand down edges properly/within the weekly deadline.
Below you can see the cap fitting on the top.


I still have a lot to learn still about wood glue application, as well as appropriate wood staining colors/techniques. If anything, this class showed me how tactile and flexible wood is to work with, so I feel I will definitely be visiting wood shop a lot on my own. 

((Also, apparently there are sites for you to calculate the size of urn you would need to contain your ashes, depending on your weight. Googling a bit told me I would need at least a 6" tall urn, so I went a little bit bigger than that because I wanted to leave the urn walls rather thick. Things you have to consider!))

The rest of my work for this class (taught by Jonathan Bonner) can be found at my Flickr.