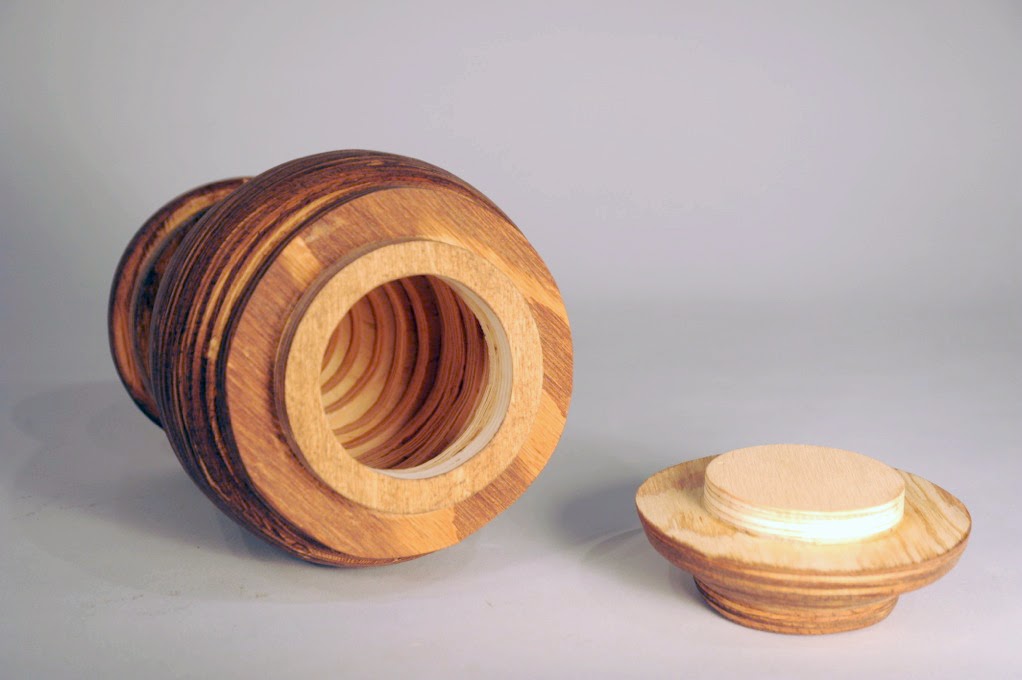
As part of my Spatial Dynamics final, which followed the theme of "containers", I made a wooden urn. This week I had to create something wooden that can only be completed by the body (for example, a chair only truly becomes a chair once someone sits on it), so I felt a cremation urn was an appropriate response.
Instead of carving the urn out of one piece of wood, I stacked and glued several circles of plywood on top of each other due to the limited woodshop resources available to first year students. I first calculated the number and diameters of each layer to get the wide, smooth shape of a cremation urn body/lid, then used the bandsaw (for the outside) and the scroll saw (for the interior negative space). After that, I sanded the outer edge at varying angles with the belt sanders to get the overall gradual outside curve. From then on was sanding the whole thing down by hand to get a soft, smooth texture.
The layers are visible here, where I was unable to sand down edges properly/within the weekly deadline.
Below you can see the cap fitting on the top.
I still have a lot to learn still about wood glue application, as well as appropriate wood staining colors/techniques. If anything, this class showed me how tactile and flexible wood is to work with, so I feel I will definitely be visiting wood shop a lot on my own.
((Also, apparently there are sites for you to calculate the size of urn you would need to contain your ashes, depending on your weight. Googling a bit told me I would need at least a 6" tall urn, so I went a little bit bigger than that because I wanted to leave the urn walls rather thick. Things you have to consider!))


